The Elements panel is where you start building your label design. It gives you access to the basic building blocks of your label, such as text fields, item numbers, and shapes. When you select an item from the menu, it is automatically placed on the canvas. From there, you can move and position it anywhere you like.
This how-to section will introduce each tool available under the Elements menu one by one.
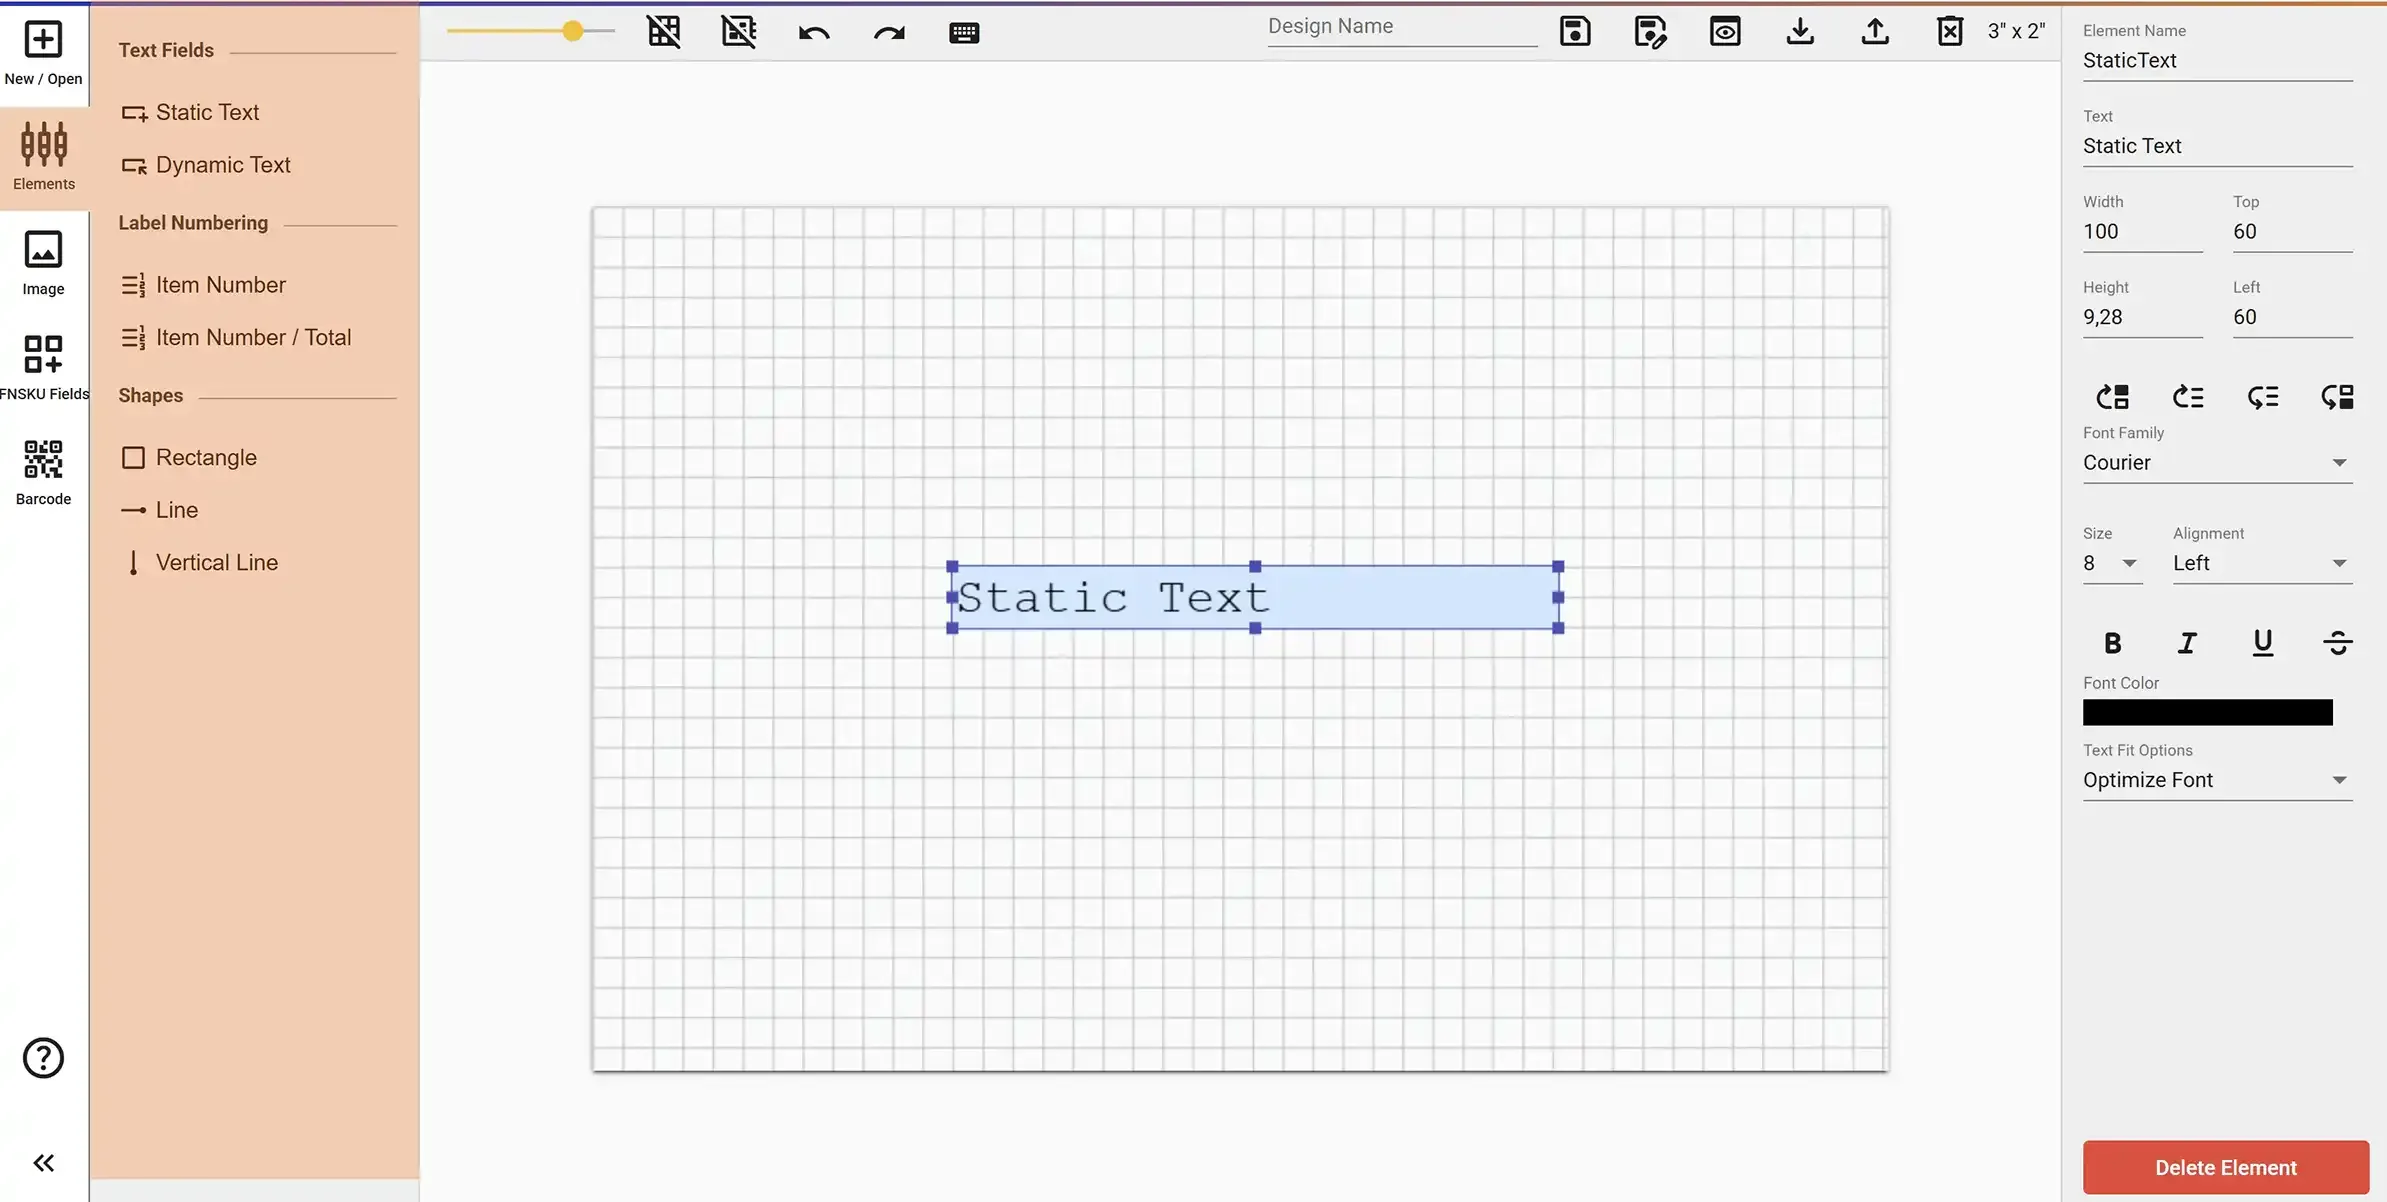
When you select Static Text from the Elements panel, it will be added directly to the canvas. You can then move it to any position and resize it as needed. You can also customize the font, color, alignment, and size of the text from the right-side property panel.
Static Text is used when you want the same text to appear on every label. This can include brand names, product descriptions, fixed warnings, or any other information that doesn't change from one label to another.
Static text is added to the canvas with a light blue background. By double-clicking on the static text area, you can directly edit the content. The text you enter here will be saved to your label and will appear on all labels that use this design.
The Element Name field in the Properties menu is used to assign a name to the static text element. Naming elements is especially helpful when working with multiple static texts.
When you select Dynamic Text from the Elements panel, it will be added to the canvas. Dynamic Text is used when you want the content to be different on each label - perfect for adding things like serial numbers, product names, SKUs, or any other variable data that comes from a spreadsheet file.
When you generate your labels using a spreadsheet file, the system will automatically replace each Dynamic Text field with the correct value from your data.
The Element Name field in the Properties panel is especially important for dynamic texts. The name you provide here must match the column name in the spreadsheet template. Each Dynamic Text element must have a unique element name.
Dynamic Text elements appear on the canvas with a green background. If the incoming text from your spreadsheet does not fit within the defined area, there are three Text Fit Options available:
The Item Number element is used to show a sequence number on each label. It starts from 1 and increases by one for each label you generate. This is helpful when you want to number your labels or keep track of them individually.
There are two types of Item Number elements available, but only one can be added to a design at a time. The first type displays only the item number itself (e.g., 1, 2, 3...), while the second type displays both the item number and the total number of labels (e.g., 1/50, 2/50, 3/50...).
There are three types of shapes you can add to your label design: Rectangle, Line, and Vertical Line.
Once added to the canvas, you can resize any shape by dragging its corners. To rotate a shape, simply drag the small circle located at the top center of the shape.
You can customize the appearance of each shape using the Properties panel. From there, you can adjust the stroke width, stroke color, and for rectangles, the fill color as well.